Making A Case For A Battery Controller (Part 4 of 4)
Hey guys welcome back for the last part of this project. It's been a long time since I started the project, and I am glad I am going to be able to finish it before the school year ends.
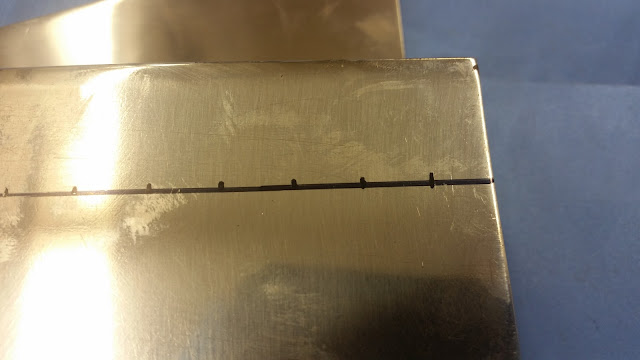
After I have polished the piece, I started to mark where I would do my engine turning. I would leave a mark every half an inch for the radius of the circle.This is how I started off the top portion of the project. By accident, the circle on the left is bigger and shifted a bit different from the second circle.
This is how it looks like with the first row done in the top portion of the project. I started to use a long,narrow, plastic strip to use as a fence for the piece.
This how the project looks when I have finished the second row of the engine turning. The whole thing has started to come more better than I have expected.
This is an action shot of me using the drill in order to engine turn. I am currently working on the fourth row of the engine turning.
This is what the project looks like after I have finished the engine turning on top. I did a total of 5 rows on the top.
In order to do the engine turning on the side of the piece I used the plastic strip as a fence again. It works well and keeps the whole thing in place.
This is a finished result of the piece after the side was engine turned. Only one side remains that needs engine turning.
This is another action shot of the machine engine turning a piece. It is also guided by a fence.
Thats the only top and side picture after I did an engine turn . It came out nice and pattern looking the same as everything else.
I put ton of dedication towards this and I hope you all enjoyed reading through it all. Have a nice day !!!!!!!


Comments
Post a Comment