How to use a machine with a shear press,brake, or slip roll.
1)What project or tool are you working on?
Answer: The tool i'm using is a combination of Shear Press, Brake & Slip Roll.
Answer: There are several steps you need to learn in order to use this machinery. The part we are focusing on is where you shear the metal. Ill explain every part throughout the blog.
3)Can you demonstrate how your project works?
Answer: Of course, as you can see in my last project, when i was doing the metal snowman project. I traced my snowman onto the piece of metal. Afterwards I saw that I still had excessive metal around my snowman so I decided to cut the metal with the tool i'm presenting now.
4)Could a person get hurt using this tool or project?
Answer: Yes it is possible for someone to get severely hurt by using this machinery if they don't know how to properly use it
5) Are there any “fail safes” on your tool or project?.
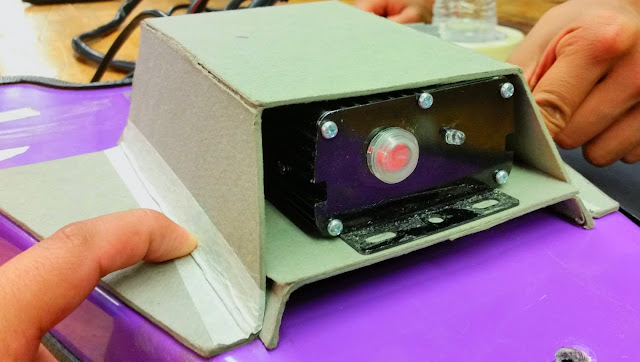
Answer: Safety is a top priority, and this machine has a fail safe. The metal bar on the screen above is to hold the metal down while cutting so your hands are out of harms ways.
Here is a demonstration from my friend on how to do it properly.
As you can see his arms and hand is nowhere near where he is cutting his metal. So he will get a clean cut. Keep in mind while cutting the metal you shouldn't have to force it too much when cutting. If you are putting more force than you usually do, then you are doing something wrong.
6)How much can this tool cut?
Answer: the machine can cut no more than .030 thick or else you might break something or damage the project you are working on.
7)How can i prevent a mistake with the tool?
Answer: You can prevent it from cutting more than it needs to by using the tool above that measures the thickness of the material you want to cut. It is called a Micrometer.
8) what do i do after I measure my metal?
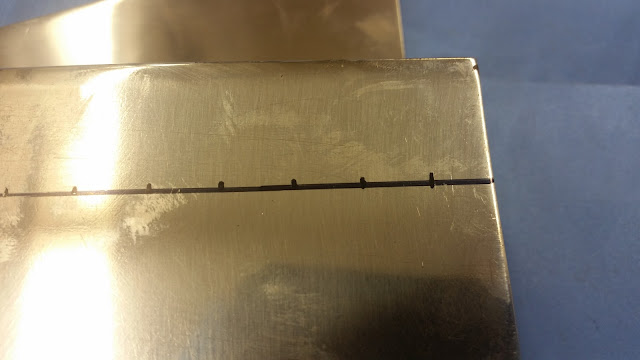
Answer: After you have measured the metal and it is under .03, you can the cut your metal, but remember put the fail safe on and make sure your measuring line meets up with shear blade so you can get a perfect cut.
Afterwards you can now continue your project. As you can see i made my project smaller so it can be user for me to cut the shapes out.
2


Comments
Post a Comment