Making A Case For A Battery Controller!! (Part 1 of 4)
Hey people of the Internet! It has been a while since I have posted something new on my blog but I have come back with a new project that I have been working on. My machines and tools teacher (rgrosinger@wnyschools.net) gave me an awesome opportunity to work on a project for Bergen Community College! The team over there have been working on a really cool project and essentially what they needed is a case made out of metal to cover a controller for an electric vehicle. However I was given the chance to do it so I went for it! I will walk you through the process.
This is just a picture to give you an idea of what I am going to do.

Viewer: That's awesome! So what was the first thing that you did in order to get to your goal?

A: Well first things first, I had to do an outline with measurements to get an idea of what I am doing. These were supposed to be the dimensions, however later on It changed because we encountered problems. As you can see in the drawing it was expected to be 2 inches in length in the top of the cardboard and the bottom of it being 4 inches long. You will see later why we update the measurements and how we fix the problem.
Viewer: Alright, what was the next thing after you drew? Did you start cutting out the metal??

A: Actually we are far from touching the metal. In the next step we had to do a paper cut out to see if our measurements were good enough to meet the standards. In the picture above you can observe that there is a paper cutout of the lower part taped to the bottom.
Viewer: After the paper cut out then you started to shape the metal right?

A: Actually we still had to do one more thing before we start working with metal. I then made it out of cardboard reason being that it is more firm and it represents it more clearly as you can see above.
Viewer: After you finished the bottom part did you complete the top part?

A: Yes I did complete the top, as you can see above the controller is covered with its cardboard type of case. Underneath is a closer picture which shows the detail of every piece. This was supposed to be the final product but we decided to aim bigger. 😄

Viewer: What do you mean when you say that you decided to aim bigger??
 A: This was supposed to be my finished product, however, my teacher was talking to me about design and how it plays a role when manufacturing things. How there should be a pattern for every piece. In the picture above, it shows how it would look smooth if I cut a bit off the bottom and I cut the pieces in an angle.
Viewer: What do you mean when you said you would cut the pieces at an angle?

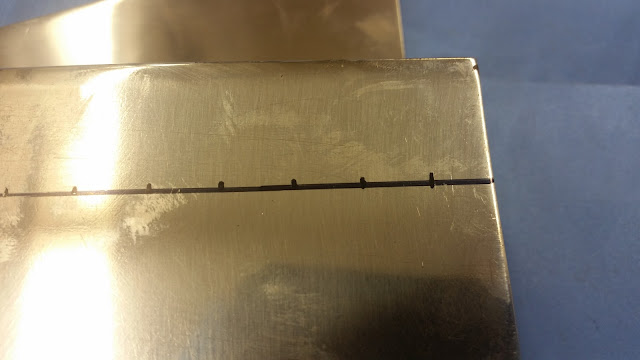
A: Well in the piece above you can see that at the sides I cut it diagonally which gives it a nice pattern and you can also see how on the top I did an outline so when I cut it out it will have a nice looking side view and angle measurement.
Viewer: Was that the only piece that you gave a pattern to or was there another one?

A: No, I also cut out the flaps of the smaller piece and also at the top I will later cut it into a certain angle and have the outline ready!
Viewer: How does the aftermath look like?

A: This is what both pieces look like after I cut the excessive cardboard off of it.
Viewer: Wow! That is so cool! So were you done after you did the cardboard?

A: After I finished making the cardboard cut out, I was ready to start using metal however things started to change since not everything went calculated as planned. The picture above shows a nice angle of the cut out.
Well that's all I have for now, I am still working on the project. Hopefully I will deliver part 2 very soon. Until then see you till next one Peace!


Comments
Post a Comment